Showing posts with label The Simple Five. Show all posts

Wednesday, July 01, 2015

the simple five: crowd pleaser


Last year we visited Ottawa during Canada Day, where the nation's capital hosted approximately 10,000+ visitors to celebrate in one location.  With many free events, concerts and museums to see and visit, fighting through an exceptionally large crowd (especially at night during fireworks) can be a daunting task (and at first, slightly overwhelming) especially when you have young children.

As seasoned travellers, we managed to cut through the crowds and enjoy visiting many attractions without melt downs or anxiety (well, at least not too much anxiety!)

The streets of downtown Ottawa on Canada Day.  A sea of red and white!


Here's a few tips to prepare yourself so you can maneuver through the crowds a little easier during the holidays (or any amusement park or popular destination) and make the day with the family more enjoyable.

1)  The early bird gets the worm.
Wake up early.  Yes, it's a holiday and it's your day off, but if at least one parent starts early, the organizing of the day begins, and the family doesn't seem rushed in the morning. Chances are, if everyone wakes up early, you'll beat the breakfast crowd and you'll get to see everything you wanted because you had a head start in the day.

2)  Pack for the day, the night before.
I know this sounds like a no-brainer, but often while travelling, our normal routines are thrown out the window.  Plan a rough schedule the night before (look at the maps, figure out where you'll eat and set out your clothes).  Pack all the blankets and towels in the backpack ready by the door.  Morning "rush" will be eliminated, and again you can start your day early and seamlessly.

3)  Do the "back nine" first.
I always joke about this with my husband.  He's an avid golfer, so when I tell him this, he knows exactly what I want to do.  When you enter an amusement park, museum or attraction during a time when it's very busy, go to the back of the park or exhibit first, then work your way backwards towards the entrance.  This usually works for us, and sometimes there are moments when we go "upstream" through the crowds, but it gives the children a chance to really observe each exhibit without the chaos.

At the National Gallery of Canada.
With free admission on Canada Day,  this is one of the most popular destinations.
(you can see we missed the crowds here too!)

4)  Figure out your meals in advance, especially on holidays.
If we're travelling, I like breakfast packages that are offered with hotels. The hassle of walking around with hungry kids to find a place to eat, makes breakfast packages a no-brainer for me.  Even if one parent goes and grabs muffins from the local bakery or coffee shop to bring back to the hotel room (getting up early helps here) saves time and aggravation. The same logic goes with dinner...there are many apps where you can book restaurants a few weeks in advance.  Especially on statutory holidays, not all restaurants are open, book quickly or there are long wait lines to get a table.  Plan ahead.


5)  Always bring an extra bag.
I know this is a strange concept that most people think is unnecessary, but I can never have enough bags and I like to carry those foldable travel totes that can fold into your purse or backpack. Whether you've made unforeseeable purchases when you've stumbled upon a vendor or market or need a makeshift picnic bench cover if you're stopping to grab a quick bite, foldable travel totes are really handy and take up very little space.  It has saved me countless of trips back to the hotel to "drop stuff off".

Most importantly, go with the flow and enjoy the day. It is almost a guarantee that travel schedules don't always go according to plan, but if you're prepared, it's easier to be flexible and you can make the best of the day.


Happy Canada Day!


Wednesday, April 22, 2015

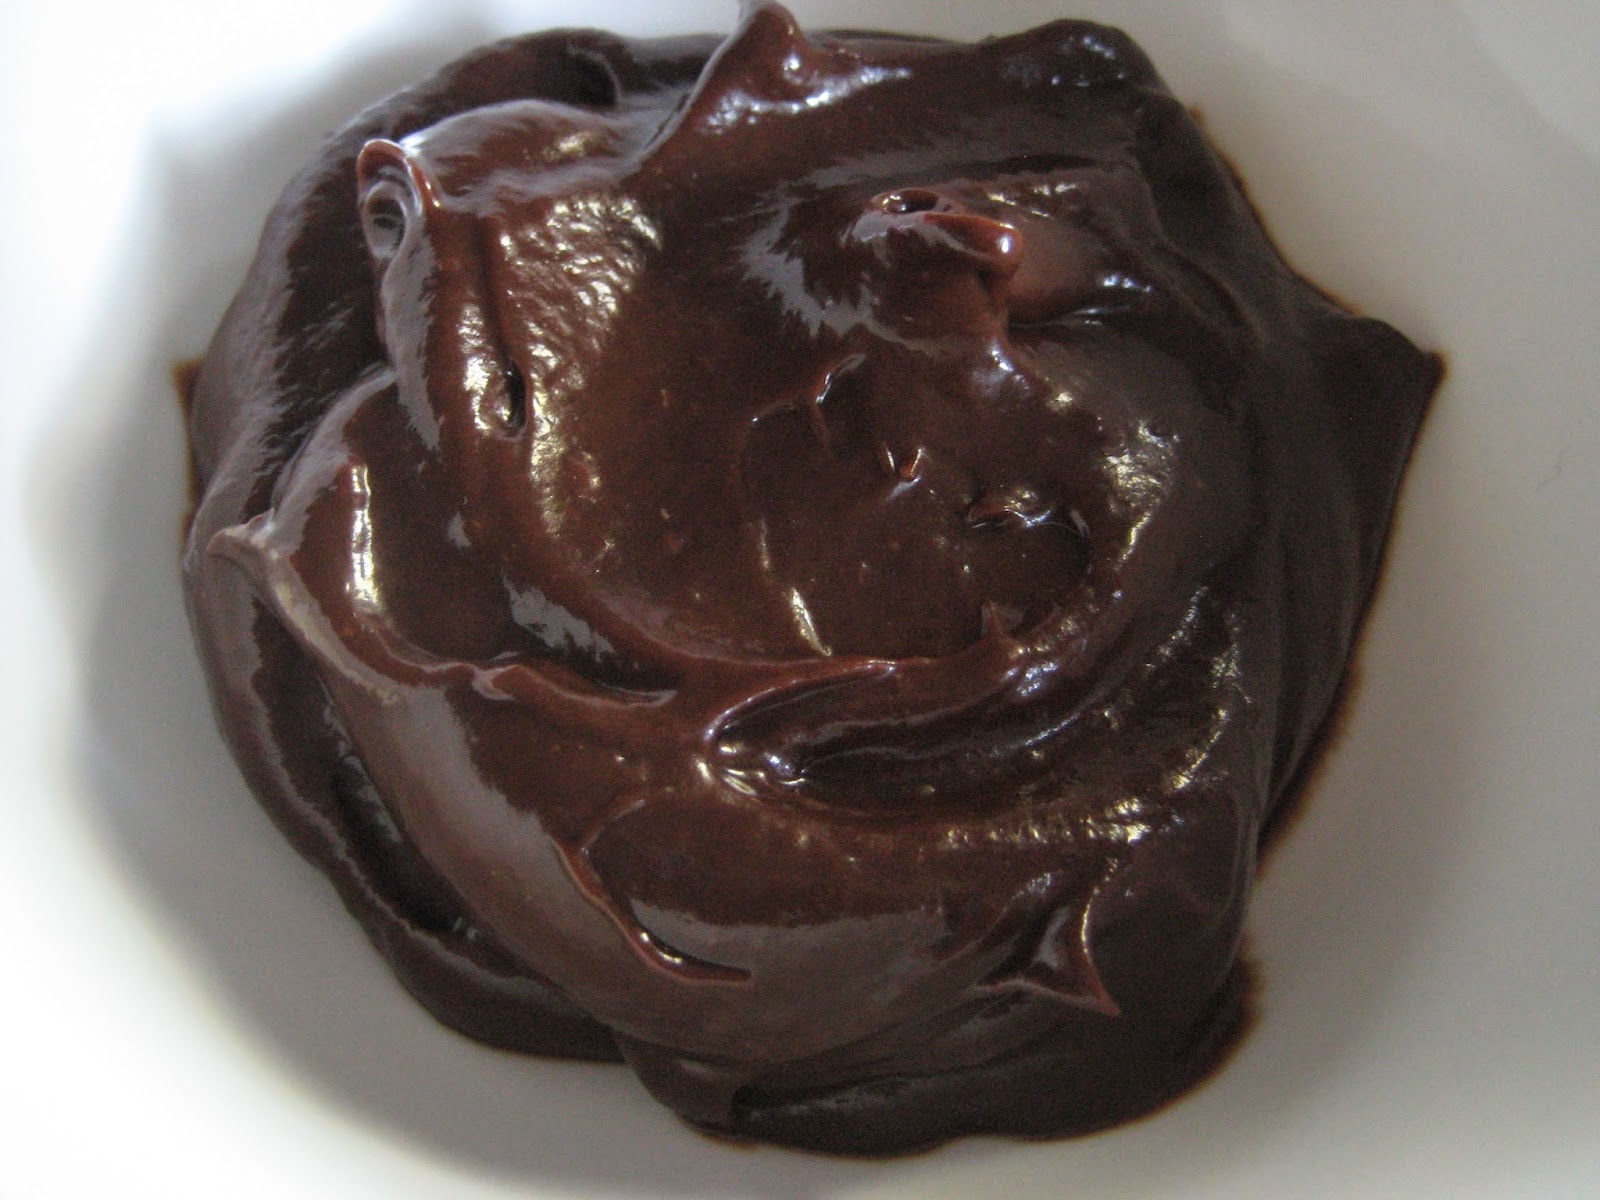
the simple five: chocolate hazelnut fudge


Fudge is one of those sweet pleasures that taste rich and satisfies a sweet tooth with just a small piece.
The sweetness of fudge often evokes that feeling of homemade treats.  I love visiting countryside bakeries that serve homemade treats. One can often find handmade fudge wrapped in saran wrap with a handwritten price sticker, offered on the counter.

When I make fudge, I like to switch the ingredients, using a variety of flavours (like maple or butterscotch).  However, this chocolate hazelnut recipe is a favourite in our house.

Enjoy!

Chocolate Hazelnut Fudge
(makes approximately 12-16 servings).

Ingredients
  • 2 cups of semi-sweet chocolate (you can use baker's chocolate or chocolate chips).
  • 3 tbsp. unsalted butter (optional, if you prefer a buttery fudge).
  • 1 can sweetened condensed milk (150ml)
  • 2 tsp vanilla extract
  • 1 cup chocolate hazelnut spread (organic, homemade or Nutella)
Preparation
  • Line an 8×8 inch baking pan with parchment paper leaving about an inch hangover on each side.
  • Chop chocolate (or use chips) in a microwave safe bowl with the butter (if using) and the condensed milk.
  • Microwave on high, stirring every minute, for 2-3 minutes.
  • Remove and stir in vanilla and chocolate hazelnut spread
  • Spread in the lined baking pan.
  • Refrigerate for 2 hours or until firm. 
  • Using the parchment paper overhang, lift the fudge out of the pan, and cut into squares.
Serve. 


Friday, April 10, 2015

the simple five : chocolate toffee crunch


Every year, I seem to miscalculate how much chocolate I should purchase for Easter.  My eyes are larger than my stomach (and wallet), and with other chocolates collected from the Easter Bunny, family and friends, our house can rival Willy Wonka.  I'm not complaining though.  It just gives me a reason to consume use up whatever is in the house.


Here's a quick way to use up some of that overabundance of chocolate.  This recipe is a variation of the "crunch" bars found on the back of those "Baker's chocolate" packages, using ingredients I already have in my cupboards...including all the sweetness left behind by the Easter Bunny.


Enjoy!


Chocolate Toffee Crunch
(makes approximately 12 small servings)


Ingredients
  • 35  whole wheat saltine crackers
  • ½ cup  butter
  • ½  cup  packed brown sugar
  • 1 cup of chocolate, chopped in small pieces.  (I used 3/4 cup milk chocolate left over from Easter and ¼ cup white chocolate...you can use chocolate chips).
  • 1 cup of a variety of the "crunchy topping".  (You can use crushed candy, nuts or even dried fruit. I used ¼  cup finely chopped toffee bits like Hershey's Skor Chipits, found in the baking section and 3/4  cup unsalted roasted peanuts, chopped).
Preparation
  • Preheat the oven to 400ºF.
  • Place the crackers in single layer on a parchment covered baking sheet.
  • Heat butter and sugar in saucepan on medium-high heat until butter is melted and mixture is well blended, stirring occasionally. 
  • Bring to boil; cook 2 min. (Do not stir.) 
  • Spread onto crackers.
  • Bake for approximately 7 min. or until topping is golden brown. 
  • Immediately sprinkle with the chocolate chips; let stand 5 min. or until melted.  
  • Using a spatula, spread the melted chocolate chips evenly over the crackers.  
  • Top with the white chocolate chips, and swirl onto into the chocolate to make a marble design.
  • While the chocolate is still soft, top with the crunchy stuff...toffee pieces and or peanuts.
  • Cool, then break into pieces.


Friday, March 27, 2015

the simple five: anchovy infused orecchiette with broccoli


Orecchiette is a uniquely disc shaped pasta that originates from Southern Italy.  Once cooked, this pasta creates little "bowls", making it ideal for light sauces, as most of the flavour is retained within the hollows of the pasta.

This recipe is an easy adaptation a traditional Italian dish, but as usual, uses only five ingredients (and easy to find ingredients).  Tuna would work well with this dish, but I chose anchovies to add flavourful depth, as the saltiness of the anchovies are balanced out with the broccoli. Anchovies are an acquired taste, but if you like food that with has a salty "bite" in flavour, this is your dish.

Enjoy!


Anchovy Infused Orecchiette with Broccoli 
(makes approximately 4-8 servings)

Ingredients
  • 450g box of orecchiette pasta
  • 4 tbsp olive oil
  • 6 anchovy fillets in oil, chopped (reserve 1 tbsp oil)
  • 4 garlic cloves, thinly sliced
  • ¼ tbsp (about ½ of a lemon, juiced)
  • 1 small broccoli, cut into florets
Preparation
  • Cook the orecchiette according to the package. 
  • Mince/chop the anchovy.  Set aside.
  • Meanwhile, heat 3 tbsp of the olive oil and 1 tbsp of the oil from the anchovies in saute pan/pot. 
  • Add the garlic until the garlic is slightly golden. 
  • Add the anchovies and lemon juice, and cook for 1-2 mins more until the anchovies "dissolve" and become part of the sauce.
  • Toss with the pasta.
  • Add the broccoli and toss with the pasta until the broccoli is bright green.
  • Season with salt, pepper or parmesan (if desired), and serve.


Friday, March 20, 2015

the simple five: grilled gouda and smoked salmon baguette


While we approach the finish line of March Break and school lunches are on the back of my mind (very back), here's a really lovely grilled cheese sandwich geared for adults (although my kids love this too) that slowly gets us back to making sandwiches.


Enjoy the remainder of March Break.


Grilled Gouda and Smoked Salmon Baguette
(Makes 2 sandwiches)


Ingredients:
  • 4 slices of french baguette bread
  • 4 tablespoons unsalted butter, cut into 1 tablespoon chunks and allowed to soften
  • 150g package of smoked salmon
  • 4 oz Gouda, thinly sliced
  • Extra butter for the pan; if needed

Instructions:
  • Heat a large pan or griddle over medium-heat. 
  • Place bread on a clean surface
  • Layer 1/2 of the cheese on one side, and 1/2 of the salmon on the other side
  • Repeat for all the slices of bread.
  • Spread each side of bread with one tablespoon of butter.
  • Place sandwich in the prepared grill and heat on each side for about 3 minutes each, or until the bread has crisped and the cheese has melted.


Friday, March 13, 2015

the simple five: garlic roasted eggplant dip


I usually make this eggplant dip at the spur of the moment (when eggplant is on sale or when it looks so appetizing in the store), and I end up trying to recollect the recipe as I put the eggplant in my grocery cart.  Tahini is the ingredient that I forget the most often.

This recipe is a slight modification on the traditional "Baba Ghanoush", a middle eastern
dish, but I replaced tahini with general pantry staples.  Makes a great vegetarian dip for pita breads, crackers or crudites.  Perfect for healthy snacks over the March Break.


Happy March Break!


Garlic Roasted Eggplant Dip 
Makes approximately 1 ½ cups


INGREDIENTS:
  • 1 eggplant, large
  • 1/4 cup lemon juice
  • 2 tbsp. sesame seed oil
  • 3-4 cloves of garlic, roasted
  • 1 1/2 tablespoons olive oil
DIRECTIONS:
  • Preheat oven to 400 degrees F (200 degrees C). Lightly grease a baking sheet.
  • Place eggplant on baking sheet, and make holes in the skin with a fork. 
  • Take the whole garlic and wrap it in tin foil.
  • Roast both the eggplant and garlic for 30 to 40 minutes, turning occasionally, or until soft. 
  • Remove from oven.
  • With a knife, slice the eggplant down the middle and scoop the contents in a bowl.
  • Place eggplant, lemon juice, sesame oil, and garlic (amount of cloves to taste) in an electric blender, and puree. Season with salt and pepper to taste. 
  • Transfer eggplant mixture to a medium size mixing bowl, and slowly mix in olive oil. Refrigerate for 3 hours before serving.


Wednesday, February 11, 2015

the simple five: slow cooker cheese potato soup


Nothing is better than spending a full day outdoors enjoying winter activities, and then being welcomed to a home filled with comforting aromas indicating that dinner is ready and waiting for you. I love using my slow cooker, and this particular recipe is a nice hearty soup, especially if you're feeding a crowd.  Fun to serve in bread bowls, and perfect to feed a large group or family (maybe for Family Day this weekend?)

This recipe makes a large batch but can be halved if you're not consuming this all in one night. Half can be served right away, and the other half placed in a container (once the soup is cooled) and frozen for up to 3 months. This recipe is quite adaptable, and you can replace the green onions with caramelized onions, roasted garlic, dill or shallots.  I've even used left over Garlic Roasted Cauliflower with good results.

Enjoy!


Slow Cooker Cheese Potato Soup (for a crowd)
(makes approximately12 servings).


Ingredients:
  • 4 cups of stock (chicken, vegetable or beef.... I generally use chicken or vegetable, but have used beef stock when I'm not adding crumbled bacon as a topping).
  • 8-10 russet potatoes, cubed
  • 1 stalk green onion, (thinly sliced green and white parts)
  • 1-2 cups of shredded cheddar cheese (depending on taste).
  • 2+ cups of milk or heavy cream.
Preparation:
  • Place potatoes in an 8 quart crock pot.  Add stock until it just covers the potatoes, approximately 4 cups or so.
  • Add green onion.
  • Cook on low for about 8 hours or high for 4.
  • Turn slow cooker off.
  • Using an immersion blender, puree the contents in the crock pot until it has the consistency of very thick soup (or place contents in batches, in a blender).
  • Add the cheddar cheese and stir until the cheese is melted.  (I used about 1 ½ cups of cheese).
  • Add milk or cream until the soup thickness is to your liking (I use about 2 ½ cups of milk...use more if you want a thinner consistency).
Garnish with sour cream, crumbled bacon, chopped green onions, or dill, if desired.


Friday, January 30, 2015

the simple five: easy guacamole


Since Super Bowl is this weekend, many people are preparing "game day" foods (staples such as nachos, chips, chilli...basically anything comforting).  While some of those foods aren't exactly the most healthy, here's an easy and delicious way to add some nutrients to your game day menu.

Enjoy!


5 Ingredient Easy Guacamole
(Makes about 3 to 4 cups)

While storing in the refrigerator, a trick to prevent the guacamole from turning brown is to place a layer of plastic wrap directly on the surface of the mixture.

Ingredients
  • 5 ripe avocados
  • 2 tbsp. finely chopped red onion
  • 2 tbsp. fresh lime juice
  • 1 garlic clove, finely chopped.
  • ½ teaspoon salt

Preparation
  • Cut avocados in half, remove seed and and scoop into a bowl.
  • With a fork, mash the avocado, leaving it slightly chunky in texture (if desired).
  • Stir in the juice, garlic, salt and red onion.
  • Cover with plastic wrap and refrigerate until ready to serve.

Serve with tortilla chips (or as a condiment for game day foods like chilli, nachos or burgers).


Friday, January 23, 2015

the simple five: roasted garlic cauliflower


I've read somewhere in those food magazines that cauliflower is the "new vegetable of the year".  Not sure why it's considered "new", since it's been available at grocery stores longer than kale has.  No matter the reason, I'm embracing this new "trend", using this wonderfully dense vegetable as a great side dish instead of potatoes.  It's quite filling, very nutritious, and easy to make.

What I also like about this dish, besides that it only uses five ingredients, is the fact that you can use the leftovers for soup. I've added this to potato and cheese, or broccoli and cheese soup with wonderful results (can you tell I like cheese in my soups!).

Enjoy!

Roasted Garlic Cauliflower
(makes approximately 6 servings)

Ingredients
  • 1 large head of cauliflower
  • 3 tsp dried thyme (or about 4 sprigs of thyme, if you're using fresh)
  • 4 garlic cloves, minced
  • 4 tablespoons olive oil
  • ¼  cup of Parmesan cheese
Preparation
  • Preheat oven to 425°. 
  • Cut 1 head cauliflower into florets; 
  • Toss on a large rimmed baking sheet (I used my cast iron skillet) with olive oil, thyme, and garlic cloves.
  • Roast, tossing occasionally, until almost tender, about 20 minutes. 
  • Remove from the oven and sprinkle the grated parmesan on top of the cauliflower.  Put back in the oven for an additional 10 minutes.


Friday, January 16, 2015

the simple five: five ingredient breakfast sandwich


In order to regulate the salt, sugar and fat intake in our diets, I try to avoid the temptation of convenient drive through/fast food establishments by cooking ahead of time and making use of our freezer. Although it may be convenient to go through the drive through for quick meals (especially in between commutes to work, school, extracurricular activities and social events), with a little planning, this recipe provides a (relatively) healthy and delicious breakfast, ready in minutes and can be taken to go.

I especially like this recipe for early morning commutes.  Usually a large batch of sausage patties are made on a weekend, serving what is needed for that morning, and freezing the remaining for subsequent breakfasts.  It makes the morning rush so much easier.

Enjoy!

Five Ingredient Breakfast Sandwich
(makes approximately 8-12 sausage patties)

Ingredients
  • 1 teaspoon each of various spices and herbs to personal taste (I used chopped garlic, ground thyme and sage).
  • 2 pounds organic ground turkey or pork
  • 1 tablespoon maple syrup
  • Whole wheat english muffins
  • Cheese of choice (Cheddar, Monterey Jack, Swiss are good choices).
Preparation
  • Preheat the oven to 400 degrees.
  • In a large bowl, mix the garlic with the pork.  Add the thyme, sage and maple syrup.  Mix well until very well blended.
  • Using a spoon or your hands, form the meat into patties about 4 inches round.
  • Place as many patties that can fit in a cast iron skillet or glass baking dish.  
  • Roast in the oven for 45 minutes to an hour, flipping sides midway, until patties are brown.
  • Toast the english muffins.  
  • Slice the cheese and place with the sausage patties, onto the english muffins (or you can bake eggs in a muffin tin at the same time as the sausage patties).
  • FREEZE FOR LATER:  You can freeze half of the sandwiches that will be consumed at a later date.  Wrap individual sandwiches into paper towels and place in a ziplock bag.  Freeze (good for up to 3 months).  When you want to heat the sandwiches, remove  the number of sandwiches you require and heat in the microwave on high for about 2 minutes, depending on the temperature of your microwave.
Serve.


Friday, January 09, 2015

The Simple Five: Panna Cotta

Panna Cotta is an Italian dessert traditionally made with cream, egg white and honey, which is then baked in the oven. This version is a simpler, non-bake version than the traditional panna cotta, and is served chilled (similar to a custard or pudding).

I love how flexible this dessert is considering there the basic recipe has only five ingredients. You can add any kind of flavourings to it (vanilla, chocolate, maple syrup) according to taste, and it can be served anytime of the year.  It's a fresh dessert alternative, particularly after heavier meals (or if you want something light after the indulgent holidays). It's easy to make ahead of time and kept in the fridge until it's ready to serve (perfect for dinner parties).


Enjoy!!!


Simple Panna Cotta
(Makes approximately 6 servings)


Ingredients
  • 4 teaspoons powdered gelatin
  • ⅓  cup sugar
  • 4 cups of half and half cream
  • 1 ¼  teaspoon pure vanilla extract
  • Pinch salt (optional)
Directions
  • Pour 2 cups of the cream into the saucepan and sprinkle the powdered gelatin evenly over top. 
  • Let soften for 5 minutes or until the surface of the milk is wrinkled and the gelatin grains look wet (this is called "blooming the gelatin").
  • Warm gently over low heat, whisking frequently for approximately 2 minutes or until the gelatin is dissolved (the cream should not be boiled...remove if you see steam and let it cool down).  
  • Add the sugar into the cream stir until dissolved.
  • Remove the saucepan from the heat. 
  • Whisk in the remainder 2 cups of cream, vanilla, and a pinch of salt.
  • Pour into small bowls or ramekins and chill for approximately 2 hours. (If you want to un-mold the panna cotta, chill overnight in greased bowls/ramekins).
Serve as is...or topped with any fruit, sauce or or chocolate shavings.  


Friday, November 21, 2014

the simple five: giving


After the Santa Claus Parade arrives and leaves town, it is a signal to start holiday preparations. Gift basket displays, festive music, non stop ads, enticing sales...reminding us to join the crowd as the hustle and bustle of gift shopping begins. 

Amongst the distractions, we should also try remind ourselves on how blessed we truly are, and remember to help those in need. Although it may be difficult to squeeze extra time into this busy season, here are five quick, simple and easy ways (that take very little time) to give back.  
  1. Donate to your local hospital. We are long-time supporters of the Sick Kids Hospital & Foundation. Their beautiful website provides many easy (and fantastic) ways to give. Send a card, enter their "lotttery", or just donate online.  Easy.
  2. Donate food to your local food bank. On your next grocery shopping trip, just add a few non-perishable items into your cart, and drop off a bag on your way out of the store. Many major chain grocery stores have donation bins right at the entrance, so it's easy to give.
  3. Help a senior in your neighbourhood. With all this snow, help shovel their driveway. It might be just an extra ten minutes of exercise (a health benefit for you...or get the kids involved!), but it's a small way that makes a big difference for someone else.  
  4. Donate toys to bring a smile to a child's face this Christmas. Many malls have toy drives/drop-offs (usually found at entrances or at customer service desks). Operation Christmas Child is a great way to bring a smile to a child overseas. Just fill a shoebox with necessities, school supplies and toys and drop it off at one of the many drop off locations. It's easy to fill up these boxes with readily available stocking stuffer-sized items, bringing a smile to children in need. You can also fill a shoebox online, if a drop off location isn't close to you.
  5. Buy gifts that "give back". Luckily there are items now available (in time for the holiday season), that are either made and/or sold by a nonprofit organization or a commercial company, which donates a portion of the proceeds to charity.  Right now, TOMS provides free shipping when you purchase items online. With every product you purchase, TOMS will help a person in need. (One for One ®).  So now you can skip the crowds, buy gifts online, and give back at the same time. Awesome!
Happy Giving.


{Disclaimer}: There were no endorsements with any of the charities or companies mentioned (or hyperlinked), for this post.  I just wanted to share the simple ways our family gives back, and a few of the beautiful  charitable organizations we support. All opinions are my own.

Friday, November 14, 2014

the simple five: chocolate avocado pudding


We love avocado in our house, and I often purchase bags of them for various dishes (my tomato avocado salsa is a house favourite).

Although my intentions are overly hopeful that we will consume all of the avocados in a week, on occasion, I have a few left that are on the cusp of being overripe.  

This simple recipe turns avocado into a sweet and relatively healthy dessert (you won't taste the avocado), and it is quite adaptable.  You can add more cocoa powder for a more intense chocolate taste, or you can add bananas, peanut butter or even apple sauce instead of brown sugar to add interest.  Or just increase the amount of sugar to make it more sweet.  This is a great way to have a chocolate dessert with the added health benefits of avocado.


Chocolate Avocado Pudding 
(makes approximately 4 servings)


Ingredients:
  • 2 avocados, peeled and pitted.
  • 2 tsp. vanilla extract (I also liked using almond extract).
  • 1 tbsp. of brown sugar (alternates: one whole banana , ½ cup of peanut butter, ¼ cup apple sauce.) 
  • ½  cup honey or maple syrup
  • ½ cup Organic cocoa powder (I like using the Camino brand).
Directions:
  • Place all the ingredients into a food processor (I just use a hand immersion blender, with it's blender attachment) and blend until creamy and smooth.  
  • Store in a sealed container for up to 3 days in the refrigerator.
Enjoy.


Friday, November 07, 2014

the simple five: candy bowl fudge


This uses up quite a bit of candy, which is ideal for any Halloween left overs (if you have any!).  This is not for the faint of heart or for those watching their calorie intake. It is very sweet. Although this will not lower your sugar intake, you can slow down the rapid consumption (by freezing this for later), and find less mini-wrappers tucked in secret places in your furniture...


Candy Bowl Fudge
(makes about 8-12 servings).
{fudge pictured on the left has Mr. Big bars for the bottom layer,
fudge pictured on the right has Crispy Crunch bars for the bottom layer.}


Ingredients:

Bottom layer
  • Approximately 32 mini chocolates (those with a cookie or peanut centre work well...Crispy Crunch, Mr. Big, KitKat).

Fudge
  • 2 cups plain chocolate (about 26 mini bars...I used Caramilk & Aero bar)
  • 1 can sweetened condensed milk
  • 2 tsp. vanilla
  •  ½ cup chopped walnuts (or substitute with chopped bars with nuts...I used 6 mini snickers bars, chopped).  You can also use chopped Smarties or any candy coated chocolates.
Directions:
  • Line a 8x8 pan with parchment paper, leaving about a 1" overhang from the edges of the pan.
  • Take bars and line the bottom of the pan. (You can make them all uniform or vary the kind you use.  Half of my pan was was lined with Crispy Crunch, the other half, Mr. Big. (KitKat would work lovely too...unfortunately those were all eaten by the time I made this!).
  • Chop plain chocolate (Caramilk/Aero) and place in microwave safe bowl with condensed milk.
  • Microwave on hight stirring twice until chocolate is soft, 2 minutes.  Remove and stir well.
  • Stir in vanilla and chopped walnuts (bars with nuts).
  • While hot, pour over the lined pan of chocolate.  
  • Refrigerate for 2 hours or until firm.
  • Using the parchment paper, lift the whole fudge out of the pan and cut into 1" squares.
  • Fudge stored at room temperature in an airtight container will last up to 10 days. Fudge stored in the refrigerator can last 2 to 3 weeks. (or 3 months in the freezer in an airtight container).
Go to the dentist.


Friday, October 31, 2014

the simple five: quick zombie makeup


For those who have been undecided on whether you'll participate with the candy hunt this evening (ughh, it's raining and cold!), here's a quick last minute costume idea, if the decision is to "go".  Although it's not the most "accurate" in terms of zombie creations, it will suffice for the mere 20 minutes that the kids will be walking around the neighbourhood.  Good enough for me.


Quick Zombie Makeup/Costume

Items you'll need:
(most items can be found in your kitchen, pantry, or at the local store)
  • Red Food colouring 
  • Corn syrup
  • Makeup sponges
  • Gauze bandage
  • Black and white face makeup (inexpensively found, or you can use white/black cream eye pencil).

Directions:
  • First, get dressed in old, dark clothing. (the red food colour can stain your clothes).

  • Using a makeup sponge, cover the face with white makeup.
  • Under the eyes and patches on the cheeks, smudge some black makeup/eyeliner, blending it into the skin.
  • Mix 3 parts corn syrup to 1 part water (I used about 3 tbsp. corn syrup and 1 tbsp. water) in a bowl until the consistency is smooth but still thick (you can use cornstarch to thicken to make "blood clots", if you wish).
  • Slowly add drops of red food colour until it is the colour you desire (sometimes adding a little green will make the red appear darker).
  • Using the makeup sponges, dab the red colour mixture lightly on the skin (around the mouth and cheeks) and drop a little on the gauze bandage.
  • Wrap the bandage around your head.

Done.  And since the weather is usually cold, any warm, old clothes would do (the older the better) to complete the zombie look.

Have fun...be safe.  


{For those who are interested in making the hippo costume in the above picture, please refer to my Hip Hippy Hooray post.  It is not a last minute costume...you'll need to give yourself a few days to complete it.}


Friday, September 26, 2014

the simple five: baked sausage penne


This recipe was made on a whim.  It just so happened that I had sausages and was stumped for a quick and comforting dinner.  This five ingredient recipe took less than an hour to make.

Enjoy!


Baked Sausage Penne Pasta
Makes 6-8 Servings
Adapted from Taste of Home


Ingredients
  • 454g penne (Rigatoni works too)
  • 5 Mild Italian Sausage Links links, sliced (I used Whole Foods Organic Sausages, mild)
  • 1 jar (750ml) spaghetti sauce...I used Neal Brother's Garlic Tomato Sauce
  • ¼ cup chicken stock
  • 2 cups shredded mozzarella cheese (I shredded mozzarella, gruyere, parmesan and applewood smoked-but if you want to stick with just 5 ingredients, mozzarella works great on it's own too).
Directions
  • Cook penne pasta according to package directions. 
  • Meanwhile, in a large pot or dutch oven, cook sausage over medium heat until no longer pink; drain the fat.
  • Return to the stove and add spaghetti sauce and chicken stock.
  • When pasta is cooked, drain and add to sausage/sauce mixture and toss to coat. 
  • Transfer to a greased 13-in. x 9-in. baking dish
  • Sprinkle with cheese. 
  • Bake, uncovered, at 350° for approx. 20 minutes or until cheese is melted.
Serve.


Friday, September 19, 2014

the simple five: slow cooker steel cut oats


To start my new "Simple Five" series, I thought I'd begin with a recipe that helps simplify the start of the day.

The chilly, late September morning temperatures are just a hint of what is to come.  Like a practice run, it prepares us for what will likely be around the corner...longer, more difficult mornings with a lot of reluctance to get out of a cozy warm bed. So, to combat this, I've started serving a warm, belly-filling (and healthy) breakfast to start the day.  This is a five ingredient and five minute breakfast (if you do the prep work before hand), so it's a"Simple Five"...times two!  In a slow cooker, I make these steel cut oats (using five ingredients, but it's flexible and you can add more!) and store them covered in a loaf pan, in the fridge, for up to a week.  Slice desired amount every morning and heat in the microwave for a nutritious quick breakfast.  Place this into a thermos or container, and you're ready to take this to go.

Enjoy!


Slow Cooker Steel Cut Oats
(makes 4-8 servings)


Ingredients
  • 2 cup steel cut oats (I used Whole Food's 365 Steel Cut Oats).
  • 5 cups water
  • 3 cups 3% milk (2% works fine too)
  • 3 tbsp. of desired spices/seasonings (I used 1 tbsp. organic cinnamon and 2 tbsp. brown sugar)
  • 3 mashed bananas
Directions
  • Put all the ingredients into the slow cooker.  
  • Cook on low for 6-8 hours. 
  • Place in a loaf pan or covered glass dish and store in the fridge (for up to a week).
  • Slice the amount you require in a bowl and microwave for about 1-2 minutes, depending on quantity. 
  • Stir.


Serve with berries, add a little more milk (if you desire a thinner consistency), and/or maple syrup.  And for all you Nutella fans, drizzle a teaspoon (or more) of warmed Nutella on top of this. It tastes like a chocolate banana cake (well, at least a more healthy version of it!)


Wednesday, September 17, 2014

the simple five


Keeping to the heart of the reason behind why I've created this blog,  I've been developing a new series called "The Simple Five".  Don't worry...I'll still write stories that document our life's beautiful moments and share my favourite (but maybe more complicated) recipes, DIY and how-to-tips, but I thought it would make it easier for all of you, my lovely readers, if I curated all things that are less complicated in this brand new series.

"The Simple Five" will specialize in easy recipes, DIY, how-to-tips, or just my favourite "must haves" that will either use less than five ingredients, five products, take less than five minutes or take less than five steps..."simple fives" to help make it just a little easier to make your day move forward in our busy lives.  


Simply easy approaches that make our lives beautiful so we can enjoy right now .  Stay tuned for more!